
Dropbox and Airtable
With Dropbox you back up the photos of every studio draft to your own Dropbox. With Airtable every new studio draft becomes a row in your own Airtable table. You connect your account under Settings → Integrations. When something is sent there, you then set up in Automation.
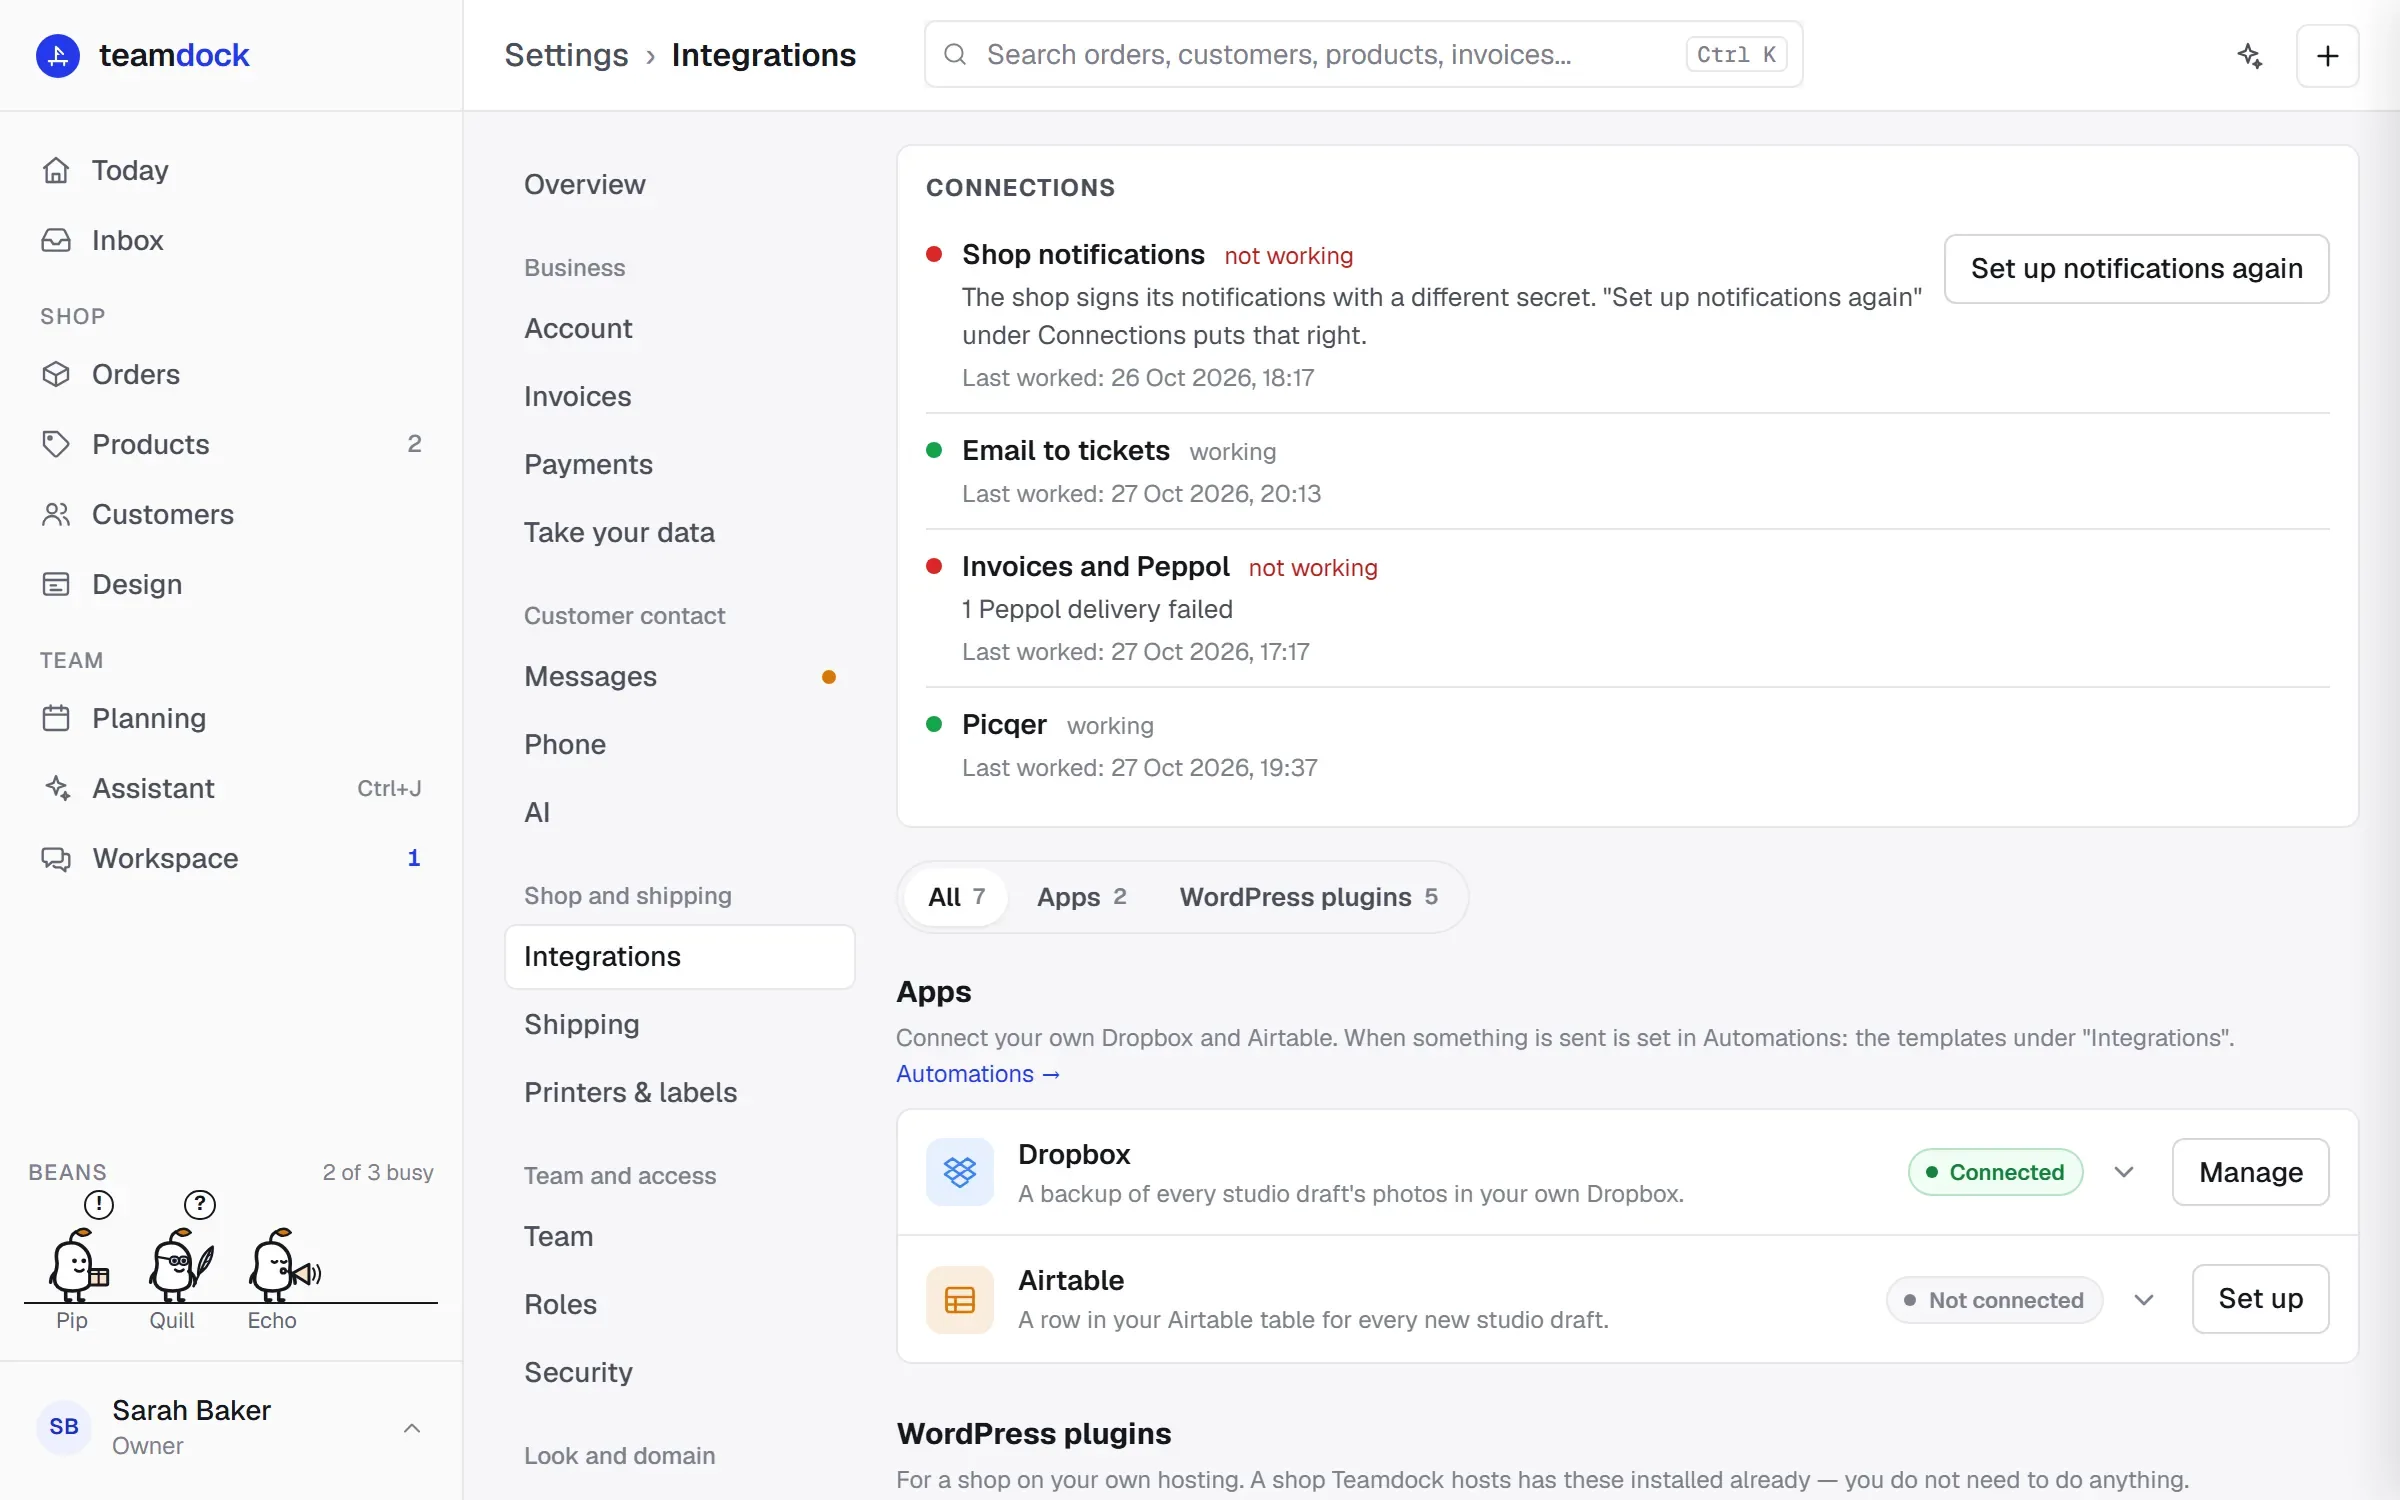
Connecting Dropbox
Section titled “Connecting Dropbox”Every new studio draft gets a folder in your Dropbox app folder (/Apps/<app>/) with all its photos, hidden ones included.
- Go to Settings → Integrations and click Set up next to Dropbox.
- Click Connect. Dropbox opens in a new tab. Log in and click Allow.
- Dropbox shows a code. Paste it into the field Code from Dropbox and click Finish.
- You now see Connected to and your Dropbox account.
To disconnect, click Disconnect. Click again to confirm.
Connecting Airtable
Section titled “Connecting Airtable”Teamdock only adds rows. It never reads or changes existing rows.
- In Airtable, create a personal access token at airtable.com/create/tokens, with the scopes
data.records:writeandschema.bases:read. Give it access to the base the rows should go into. If you want the view check (see below), also adddata.records:read. - In Teamdock, go to Settings → Integrations and click Set up next to Airtable.
- Paste the token under Personal access token and click Connect.
- Choose the Base, the Table and optionally a View.
- Under Columns, choose the Airtable column for each Teamdock field (SKU, title, price, stock, photos and so on). Leave a field you don’t need on not used.
- Optionally add Fixed values: columns that get the same value on every new row.
- Click Save.
View and fixed values
Section titled “View and fixed values”Airtable always puts a new row in the table. A view only shows the rows that match its filter. If you choose a view, fill in under Fixed values what that view’s filter asks for (for example Imported = off). New rows then show in that view too.
After each new row Teamdock checks whether it shows in the chosen view. If not, the automation shows a warning. Without the scope data.records:read the check is skipped.
Switching on the automation
Section titled “Switching on the automation”Nothing happens after connecting yet. Switch on an automation:
- Go to Planning → Automation, click + New and then From a template.
- Choose the category Integrations.
- Choose Draft created — back up photos to Dropbox or Draft created — add row to Airtable and click + Use template.
- For Dropbox: click the folder on the block to choose how the folders are named: everything in one folder, one folder per product, one folder per day, category/year/product, or your own structure.
- Save and switch the automation on.
See Building automations for more on automations.
Troubleshooting
Section titled “Troubleshooting”“This token has no access to any base yet.” In Airtable, open airtable.com/create/tokens, click the token, add your base under “Access” and save. Then click Refresh bases in Teamdock.
The row is in Airtable, but not in my view. The row does not match the view’s filter. Set a fixed value that matches the filter.
“Dropbox is not available on this workspace yet.” Contact Teamdock support.