
Labels and printers
Teamdock prints labels through PrintNode, straight to the printer in your warehouse or shop. You can use two printers: one for Shipping labels (from DACHSER, Sendcloud and Picqer) and one for Product labels (price and shelf labels). You find everything under Settings → Printers & labels, with three tabs: Printers, Label designer and Label ahead.
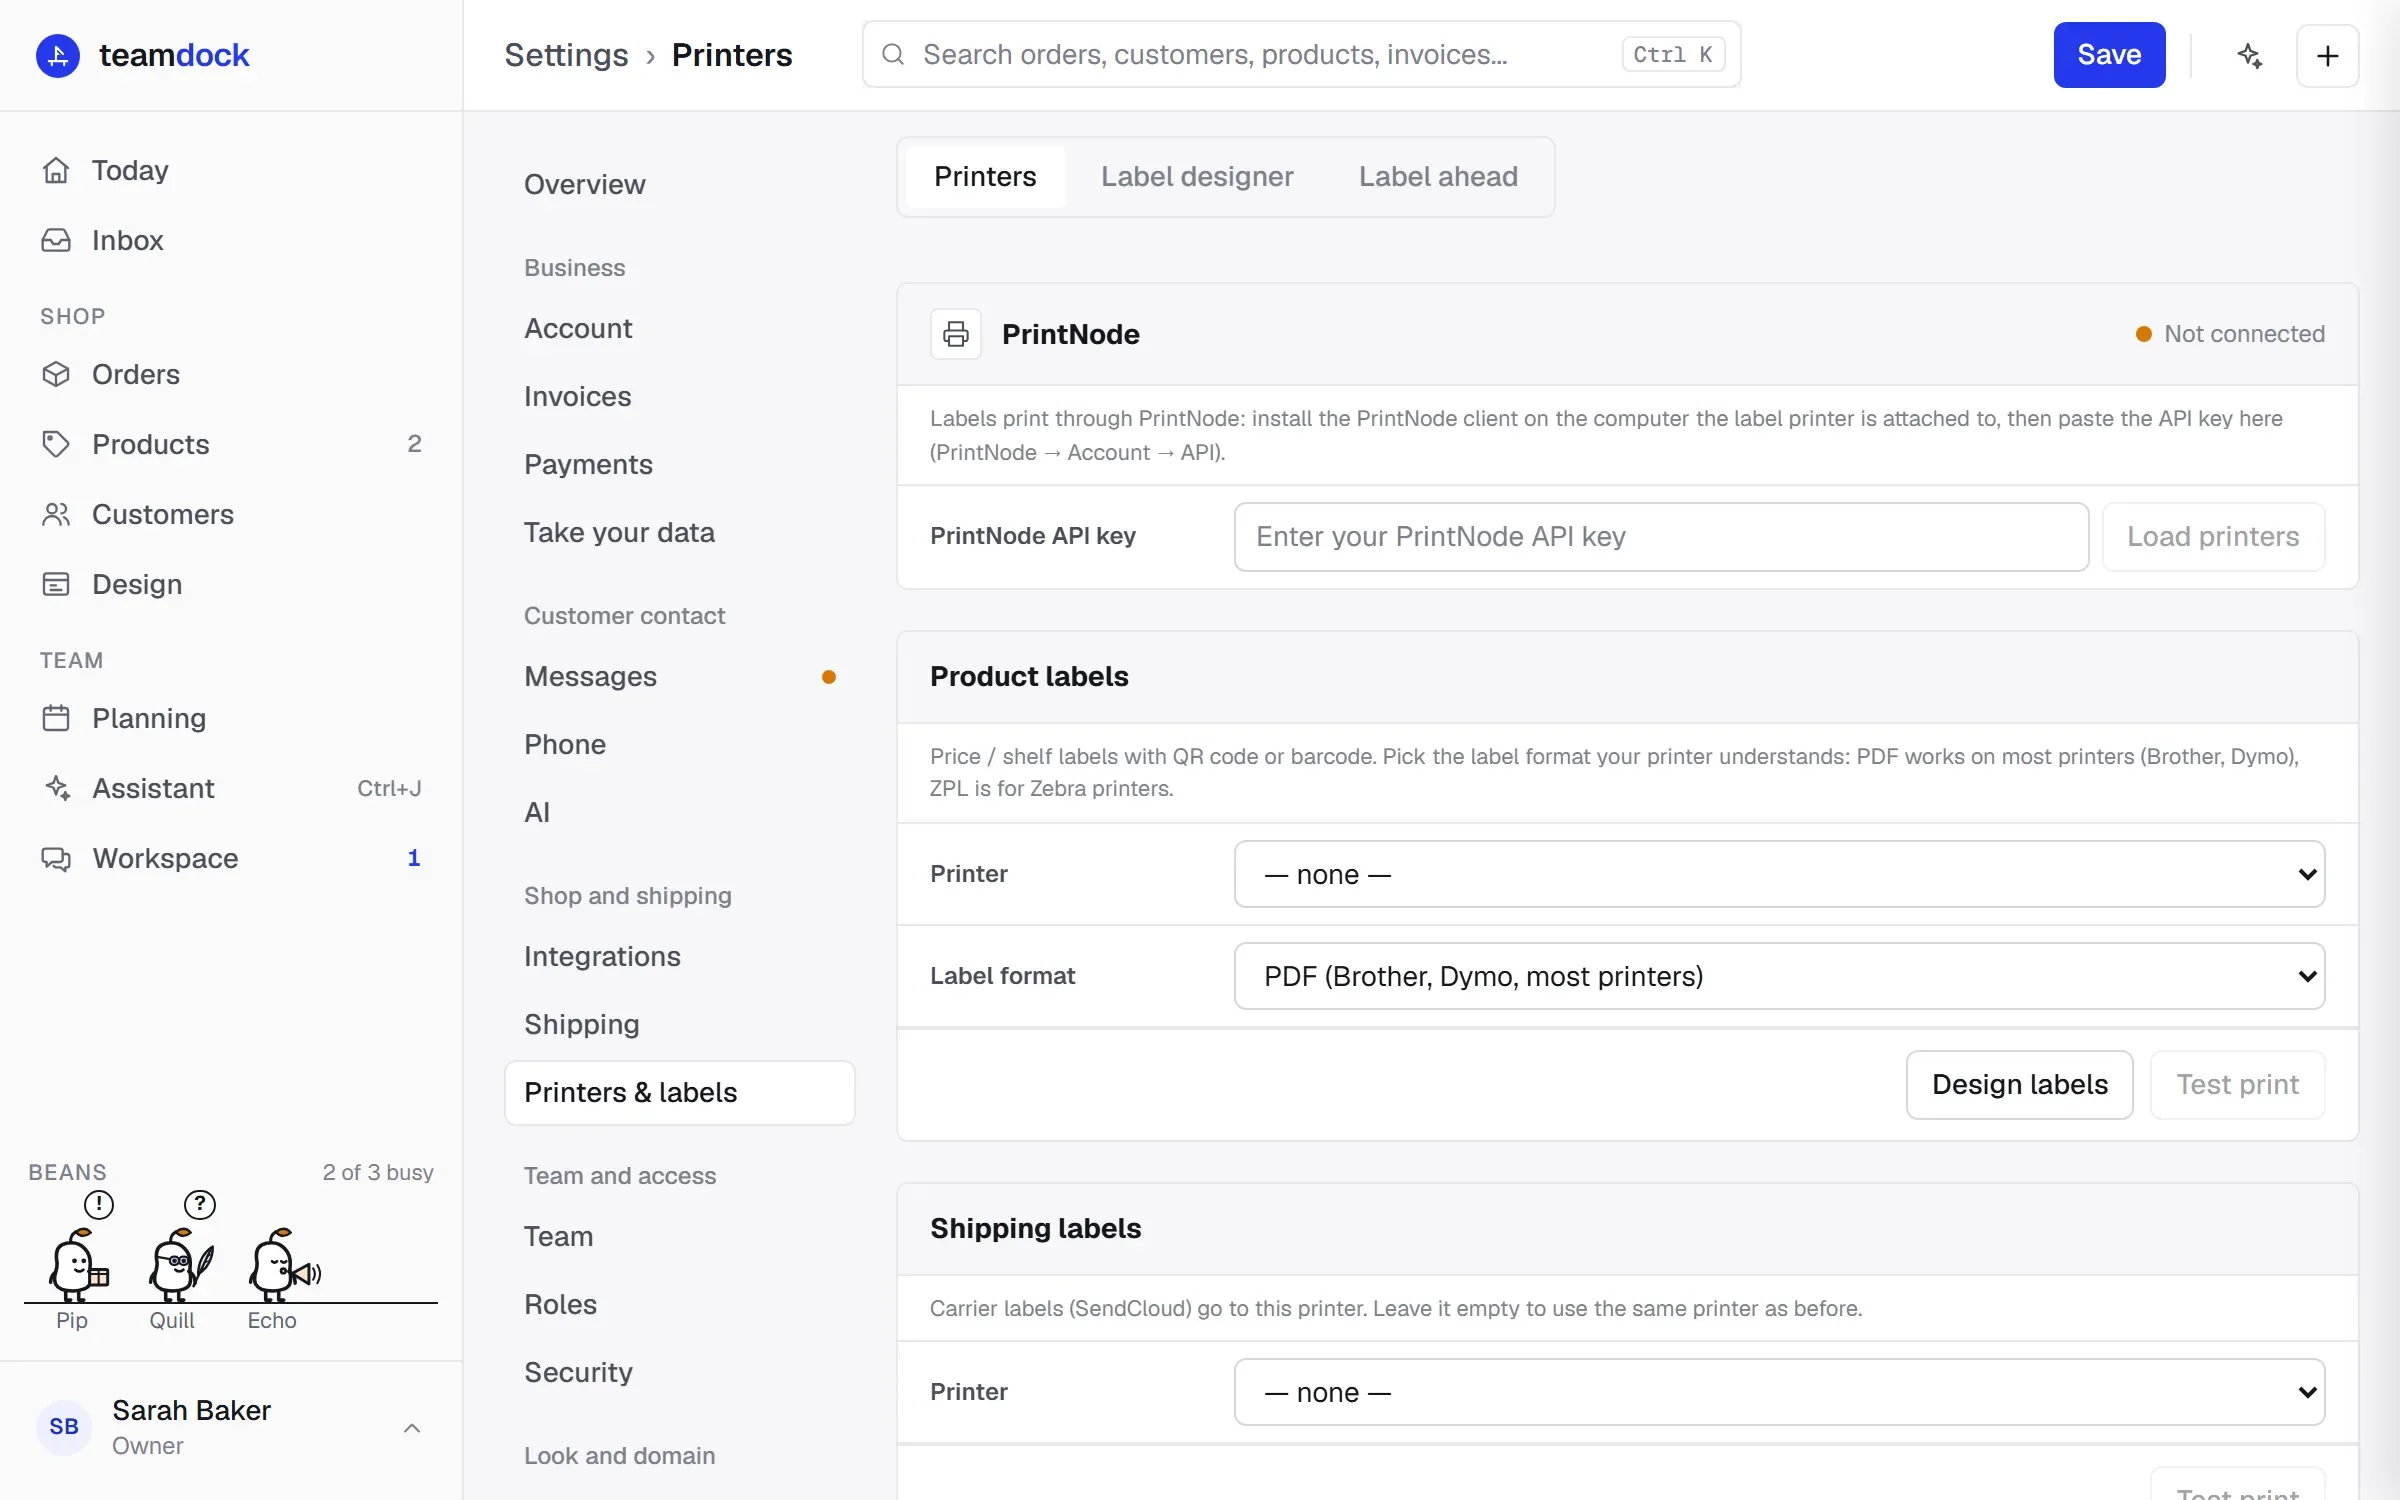
Connecting PrintNode
Section titled “Connecting PrintNode”- Create an account at PrintNode and install the PrintNode client on the computer the label printer is attached to.
- Create an API key in PrintNode, under Account → API Keys on app.printnode.com.
- In Teamdock, go to Settings → Printers & labels → Printers.
- Paste the key under PrintNode API key and click Load printers.
- Under Your printers you see every printer with the computer it is attached to, its ID and, if PrintNode knows it, its resolution. A green dot means it is online.
- Choose the printers (see below) and click Save at the top right.
The top shows Connected once a key has been saved.
Shipping labels
Section titled “Shipping labels”Under Shipping labels you choose the printer for carrier labels:
- DACHSER: when booking and with Reprint label.
- Sendcloud: when marking an order picked.
- Picqer: with Print label and Packing slip on the order.
If you used Teamdock before separate printers could be chosen, you see Same as before (ID …): leave the field like that and shipping labels go to the printer from before. Test print checks that the printer works.
A shipping label never goes to the product label printer, unless you choose the same printer for both.
Product labels
Section titled “Product labels”Under Product labels you choose the printer for price and shelf labels with a QR code or barcode:
- Printer: the label printer.
- Label format: PDF (Brother, Dymo, most printers) or ZPL (Zebra).
- Printer resolution: with ZPL you choose 203, 300 or 600 dpi. If the printer reports a different resolution from the one you chose, you see a warning that labels print smaller, with a button to use the right resolution.
Test print prints a test label; Design labels takes you to the label designer.
Label designer
Section titled “Label designer”Under Settings → Printers & labels → Label designer you design your product labels. What you see is what prints. Only administrators and shop managers can change templates; other colleagues can look.
- Choose a Label template, or click New. Duplicate makes a copy, Make default makes the template the default label.
- Give it a Name and choose the Label size: a common size, a size your printer reports, or Custom size with Width (mm) and Height (mm). Measure a label from your printer: the size must match.
- Under Fields on the label, add what should be on it: QR code, Barcode, Line, or a field such as SKU, Name, Price, Regular price, Sale price, Dimensions, Weight, Sizes, Brand, GTIN / EAN or Text.
- Drag the elements into place and drag the corner to resize them. Everything snaps to the Grid; hold Alt for free placement.
- Choose a product under Preview with a product… to see what the label looks like, or use the sample product.
- Save the template.
Useful options:
- For a price, choose under VAT whether to show it As entered in the shop, Incl. VAT or Excl. VAT, with the label’s VAT rate (%). During a sale, also show the regular price struck through shows the old price too.
- The QR code opens the product in your shop. Keep it at least 10 mm for reliable scanning.
- An EAN-13 barcode needs a valid 12- or 13-digit GTIN; anything else is printed as Code 128.
- Fill label stretches the layout to the whole label; Make everything 10% smaller and Make everything 10% larger scale the content.
- Print test label prints one label of the design as shown, without saving. Download PDF gives you a PDF.
You then print product labels from a product, or for a selection from the product list: choose the template and the number of copies, and Teamdock sends everything in one print job (at most 200 products and 500 labels at a time). See Products.
Label ahead
Section titled “Label ahead”Under Settings → Printers & labels → Label ahead you print a label for a product that does not exist yet. Handy when something comes in that needs a sticker today, while the photos and the draft follow later.
Label for a product still to come
Section titled “Label for a product still to come”- Enter an Article number, or leave it empty: Teamdock then takes the next free number.
- Under What for?, say what it is, for example “Combi steamer”. That goes on the label.
- Click Reserve and print label.
The number is held, so nothing else gets it. When you later create a product or draft with this article number, the label belongs to it automatically and the reservation ends. You can also click several free numbers at once in a series or per thousand, and reserve and print them in one go.
Under Waiting for their product you see the reservations, with Print again and Release. If you release a number, throw the printed label away.
Label for a draft
Section titled “Label for a draft”Is the product in as a draft already? Find it by name or article number, set the Price and click Print label. A changed price is saved into the draft first, so the label and the product agree.
Troubleshooting
Section titled “Troubleshooting”- “Could not load the printers from PrintNode.” Check the API key and that the PrintNode client is running.
- A printer shows as offline. Switch on the computer with the PrintNode client.
- Labels print smaller than designed. Set the Printer resolution to match your printer.
- There is space left on the label. The size in the design is too small. Enter the real size or use Fill label.
- “No shipping label printer set up” when booking. Choose a printer under Shipping labels and save.