
Setup
With the link from your welcome email you activate your workspace. If you connect your own WooCommerce shop, you go through a three-step wizard: WooCommerce, WordPress login and Done. If you have WordPress hosting and your shop is already connected, you only collect your login password. Check your welcome email to see which applies to you (see The welcome email).
Before you start
Section titled “Before you start”You need two things from your shop’s WordPress admin. Have them ready before you open the link.
1. WooCommerce REST API keys
- Log in to your shop’s WordPress admin.
- Go to WooCommerce → Settings → Advanced → REST API and add a key.
- Give the key a recognisable description, for example “Teamdock”, choose your own user and give the key Read/Write permissions. Teamdock reads orders, products and customers and also updates them.
- Copy the Consumer Key (starts with
ck_) and the Consumer Secret (starts withcs_). WooCommerce shows the secret only once.
2. A WordPress Application Password
- In the WordPress admin, go to Users → Profile and scroll to Application Passwords.
- Enter a name, for example “Teamdock”, and create the password.
- Copy the password. It consists of groups of four characters with spaces between them. You also see this only once.
Your WordPress user must have the role Administrator, Shop Manager or Editor. You cannot finish setup with a customer or subscriber account.
The wizard: connecting your own WooCommerce
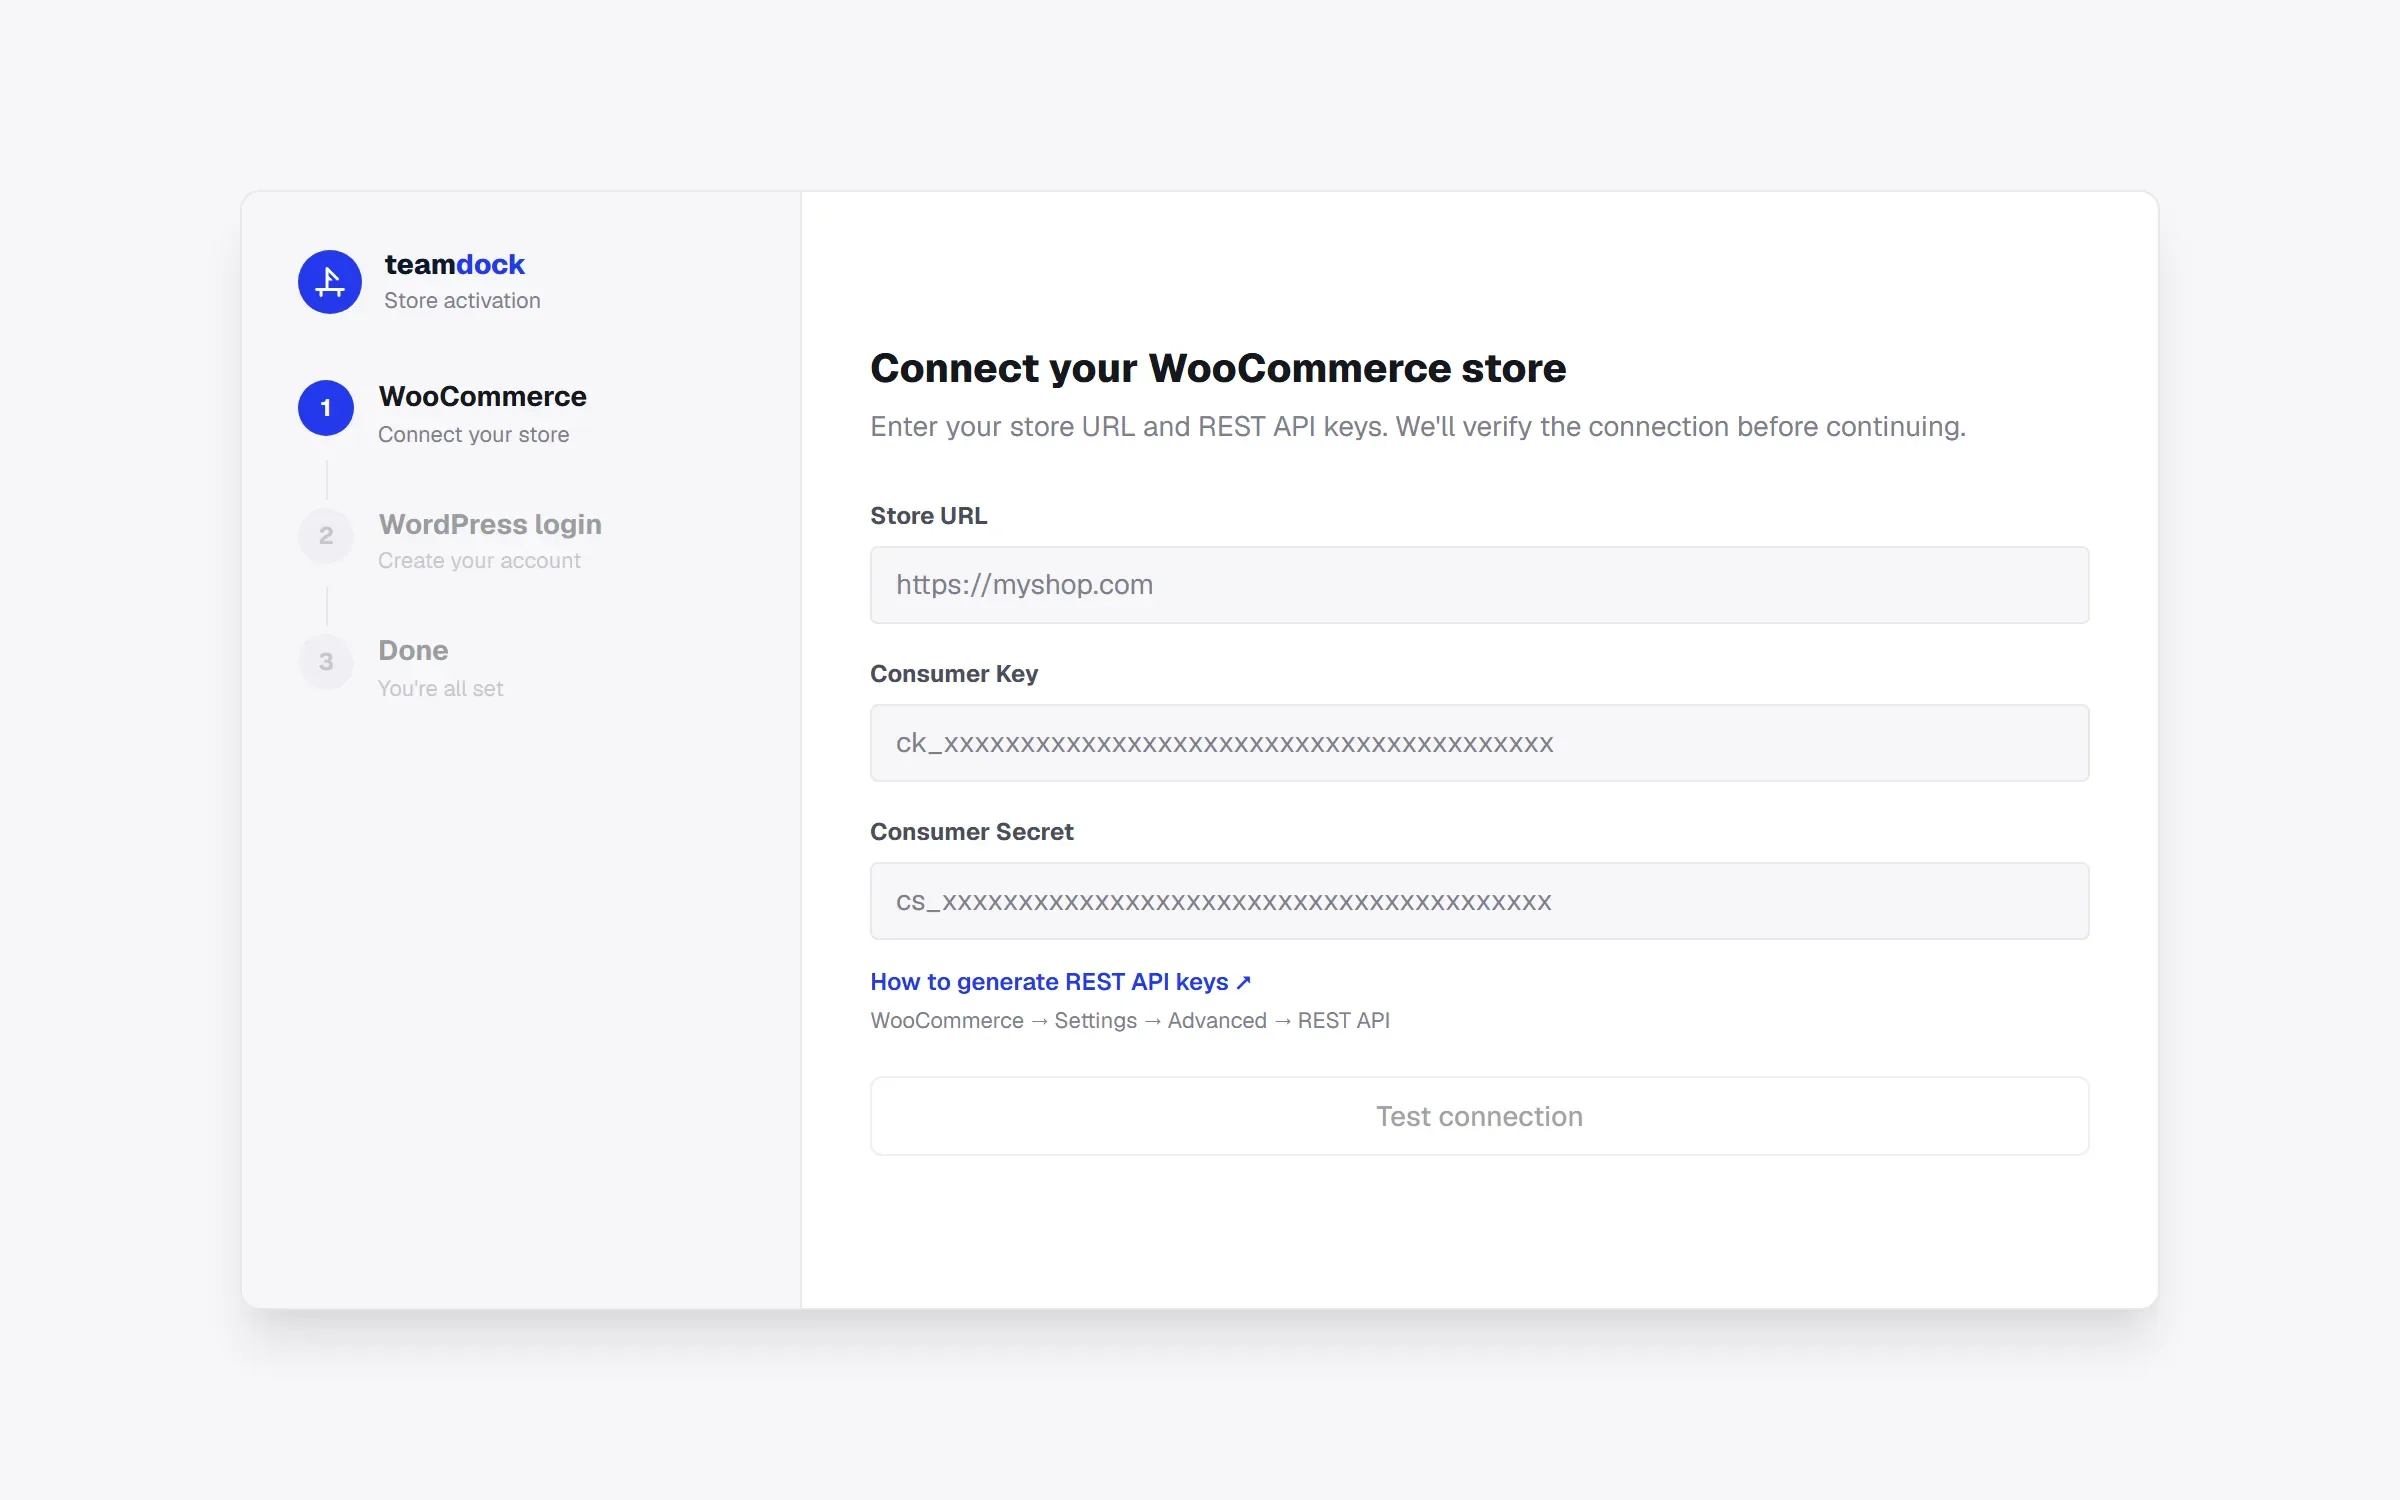
Section titled “The wizard: connecting your own WooCommerce”In your welcome email, click Activate my workspace →. The wizard opens in your workspace. The three steps are shown on the left.
Step 1: WooCommerce
Section titled “Step 1: WooCommerce”Title: Connect your WooCommerce store.
- Under Store URL, enter the address of your shop, for example
https://myshop.com. If you have WordPress hosting, the address is already filled in. - Paste the Consumer Key and the Consumer Secret.
- Click Test connection.
- If it works, you see a green message Connected to with the name of your shop and the number of orders found. If your shop answers on a slightly different address (for example with
www.in front), you also see We saved the address your store actually answers on. and the address in the field is updated. - Click Continue →.
If you change anything in one of the fields afterwards, you have to click Test connection again.
Step 2: WordPress login
Section titled “Step 2: WordPress login”Title: Set up your login. From now on you log in with these details every time.
- Enter your WordPress username.
- Paste the Application Password you created.
- Click Verify. You see Verified — welcome, with your name.
- Click Finish setup →.
← Back takes you back to step 1, for example to enter different keys.
Step 3: Done
Section titled “Step 3: Done”You see You’re all set!. Your shop is connected and you are signed in automatically. Click Go to dashboard → to get started.
Continue with Checklist: finish your workspace.
With WordPress hosting: collecting your password
Section titled “With WordPress hosting: collecting your password”If you received the email Your WooCommerce store is live on Teamdock — log in now, your shop is already connected and there is no wizard.
- In the email, click Reveal my login password →.
- You see Your login password with your Username and your Application Password.
- Click Copy and store the password somewhere safe, for example in a password manager. It is shown only once.
- Click Continue to login →. The password is then deleted and the link no longer works.
- Log in with the username and password. See Logging in for the first time.
Also choose your WordPress admin password with the button Set my store password → from the same email. That is a different password: it is for WordPress itself, not for Teamdock.
If you see Already set up, the password has already been shown. Log in with the password you saved then. If you have lost it, create a new one in the WordPress admin under Users → Profile → Application Passwords.
Requesting a new activation link
Section titled “Requesting a new activation link”An activation link is valid for 14 days. If it has expired, you see Setup link expired.
- Under Email address, enter the address you signed up with.
- Click Send new setup link.
- You see If that email matches your account, a new setup link is on its way. The new email has the subject “Your Teamdock setup link”. That link is valid for 7 days.
You also reach this page through yourcompany.teamdock.ai/login and the button Request a new activation link →.
Problems during setup
Section titled “Problems during setup”| Message | What to do |
|---|---|
| “Could not reach the store. Check the URL and try again.” | Check your shop’s address. Open it in your browser to see whether the shop is online. |
| “Store URL must be a valid http:// or https:// address.” | Enter the full address, including https://. |
| “WooCommerce REST API not found. Is WooCommerce installed and the REST API enabled?” | Check that WooCommerce is installed and active at that address. |
| “WooCommerce rejected these keys. …” | The keys are wrong or have been revoked. Create a new key pair with Read/Write permissions and paste both again. |
| “The store redirects this request somewhere else. …” | Enter the address your shop really runs on, for example with or without www.. |
| “WordPress verification failed. Check your credentials and try again.” | Check your username and use an Application Password, not your normal WordPress password. |
| “This WordPress account does not have a staff role (e.g. Administrator or Shop manager).” | Your account has no staff role. Ask an administrator to give you the Administrator, Shop Manager or Editor role, or use another account. |
You stayed on the page too long. After opening the link you have one hour to finish the wizard. If a step stops working after that, click the link in your welcome email again. It stays valid until setup is finished.
The link takes you to the login page. Setup has already been finished. Log in with your WordPress username and Application Password.