
Connect your WooCommerce shop
Teamdock talks to your shop through the WooCommerce REST API. For that, Teamdock needs three things: your shop’s address and a key pair (Consumer Key and Consumer Secret). You enter them during setup, and you can always replace them later.
Step 1: create keys in WooCommerce
Section titled “Step 1: create keys in WooCommerce”-
Log in to your shop’s WordPress admin (wp-admin) with an administrator account.
-
Go to WooCommerce → Settings → Advanced → REST API and click Add key.
-
Give the key a description, for example “Teamdock”, and choose a user with administrator rights.
-
Set Permissions to Read/Write. With Read only, Teamdock cannot write anything back to your shop.
-
Click Generate API key. WooCommerce now shows the Consumer Key (starts with
ck_) and the Consumer Secret (starts withcs_). -
Copy both straight away. You only see the Consumer Secret once; if you lose it, create a new key pair.
Step 2: enter the keys in Teamdock
Section titled “Step 2: enter the keys in Teamdock”During setup
Section titled “During setup”The first step of setup is called Connect your WooCommerce store.
-
Under Store URL, enter your shop’s address, for example
https://yourstore.com. -
Paste the Consumer Key and the Consumer Secret.
-
Click Test connection. Teamdock connects to your shop and shows which store it is connected to.
-
Click Continue → and carry on with the next step of setup (your WordPress login). See Set up your workspace.
Later, or when your keys have changed
Section titled “Later, or when your keys have changed”Revoked or regenerated the keys in WordPress, or want to use another address? Change the connection here:
-
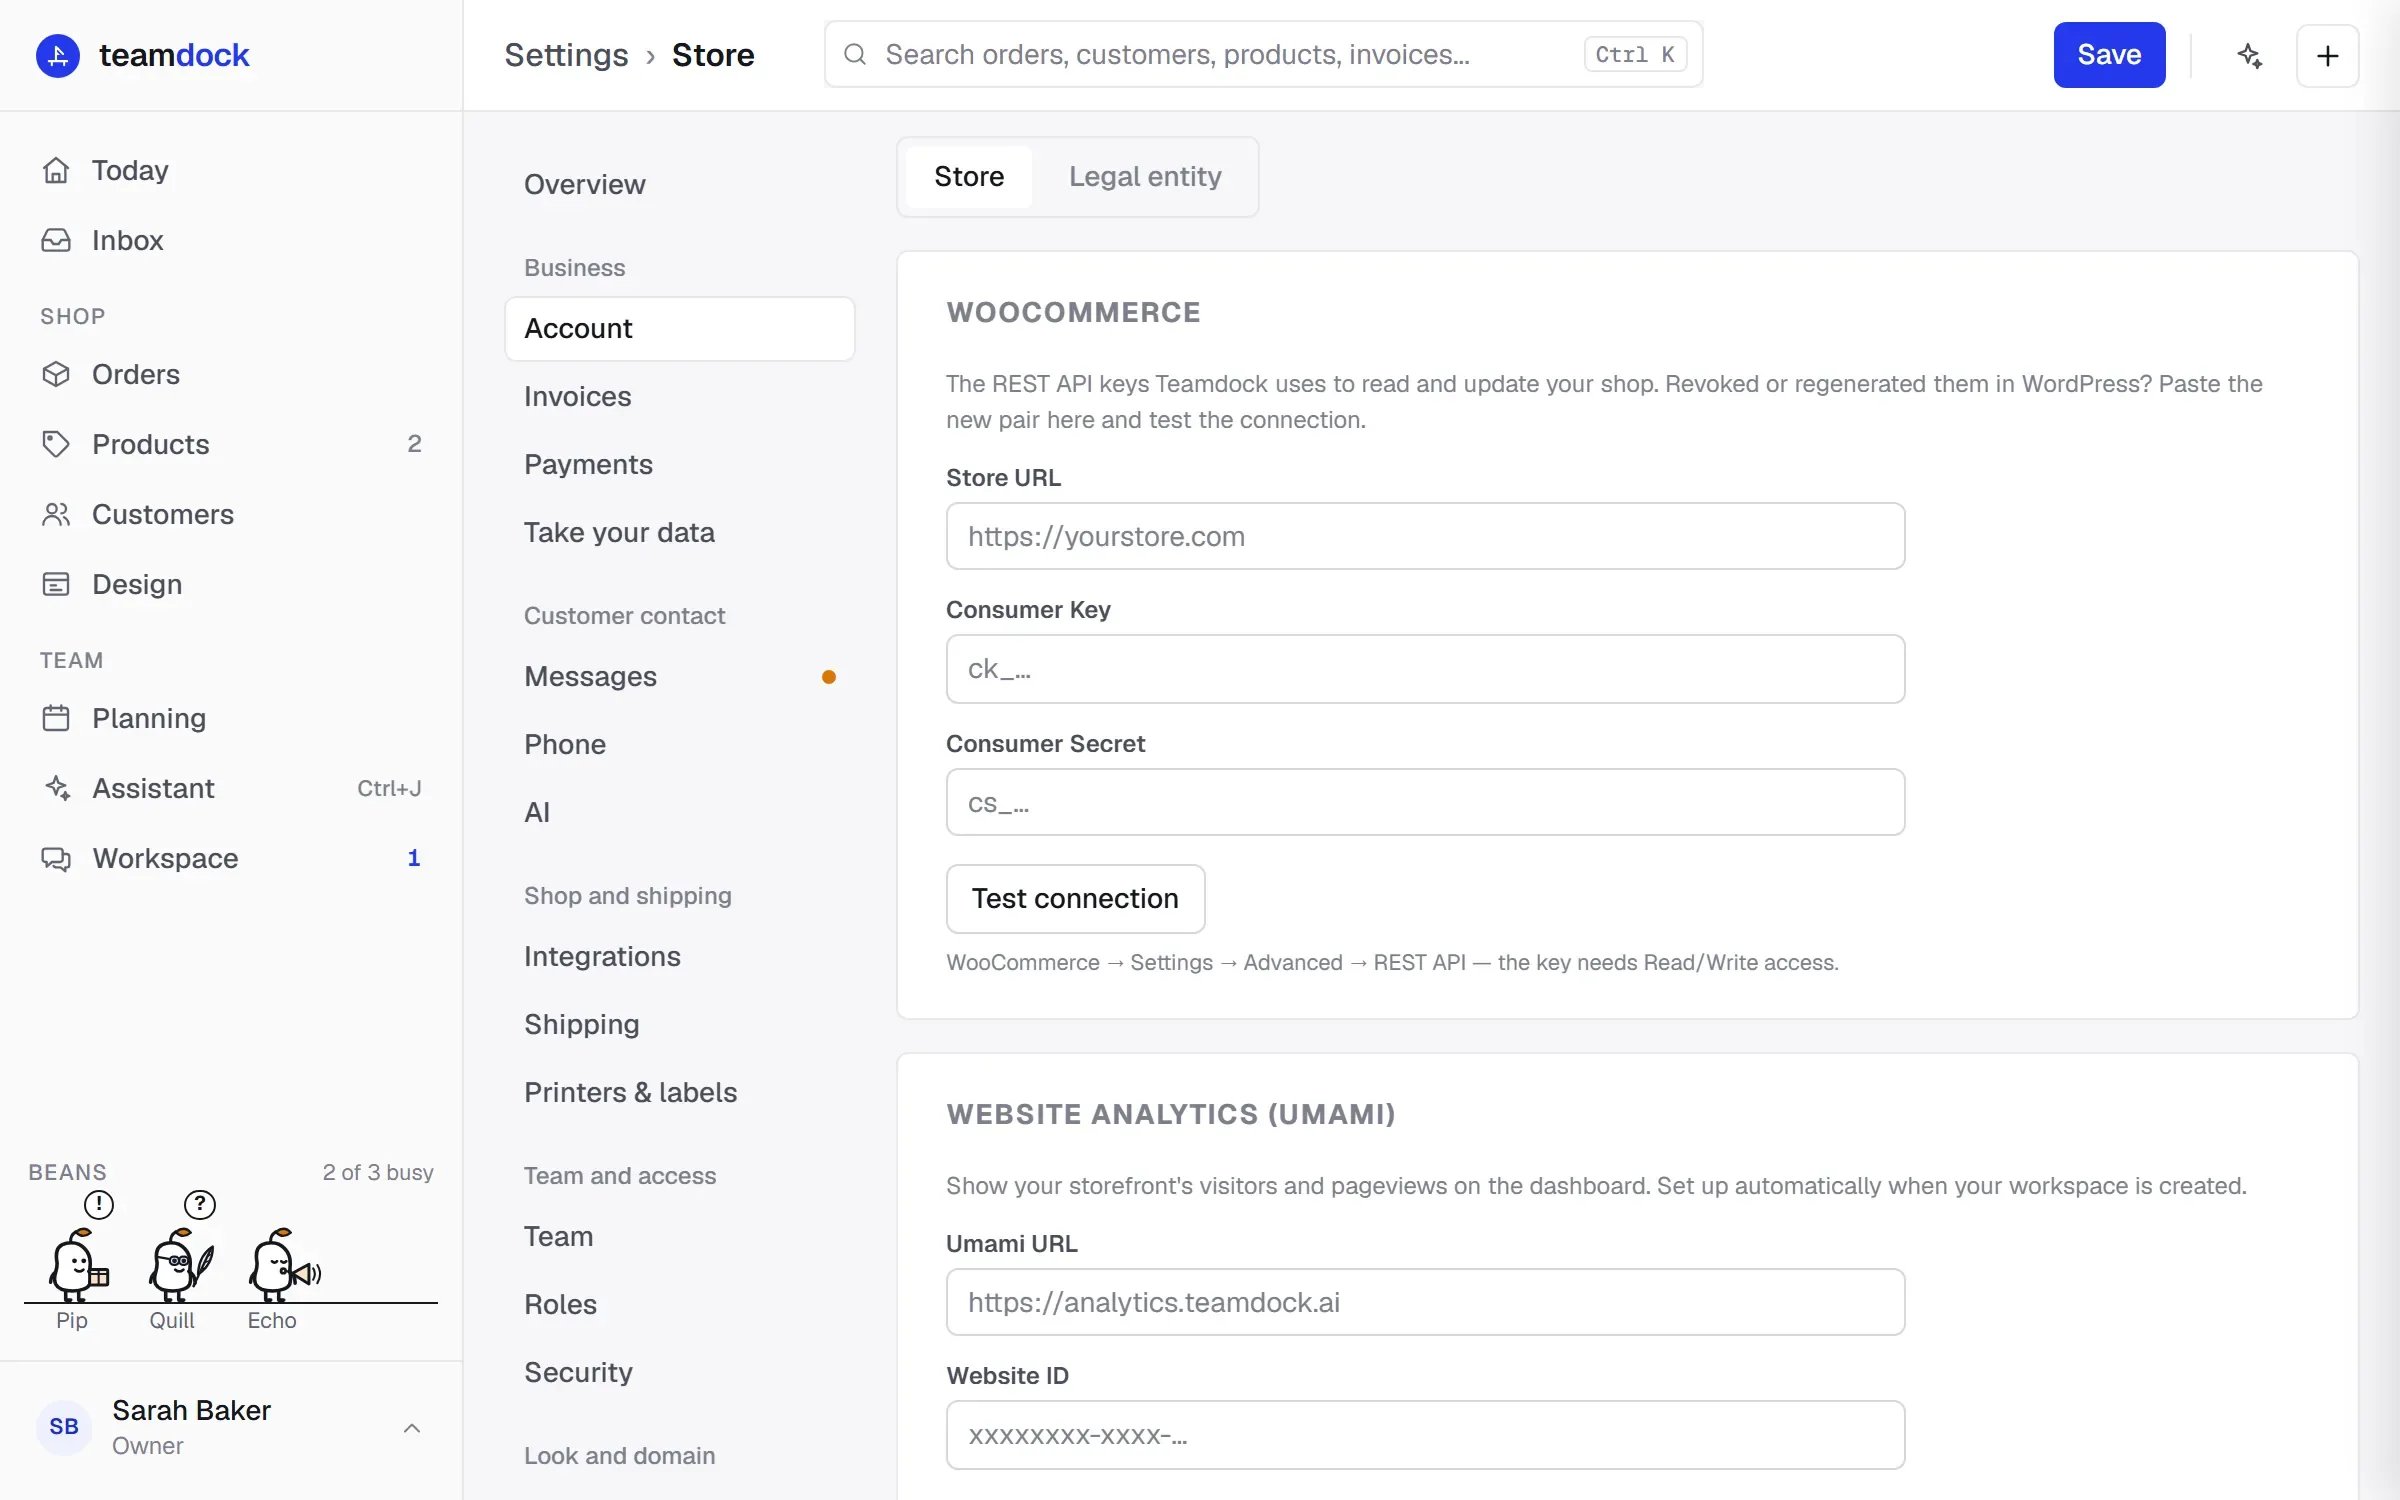
Go to Settings → Account → Store. Under WooCommerce you see the current connection.
-
Enter the Store URL and paste the new pair under Consumer Key and Consumer Secret.
-
Click Test connection. If the test succeeds, Teamdock saves the keys straight away and shows Connected to and the name of your shop.
Teamdock also tests the connection by itself every time you open this page. That way you see at once when the connection has stopped working, instead of something quietly failing somewhere else.
The store URL is sometimes corrected
Section titled “The store URL is sometimes corrected”Many shops send visitors on, for example from yourstore.com to www.yourstore.com, or from http:// to https://. Teamdock follows that redirect itself first and only sends your keys to the address your shop really answers on. That address is what Teamdock saves.
You then see the message The store URL was corrected to the address your shop answers on. You don’t need to do anything.
If your shop redirects to a completely different address, Teamdock does not follow it automatically. You get a message with the address your shop points to. Enter that address as the store URL and test again.
Shop notifications (webhooks)
Section titled “Shop notifications (webhooks)”When you connect, Teamdock switches on a number of webhooks in your shop, for new and changed orders, customers and products. In WooCommerce they are called “Teamdock — …” and are listed under WooCommerce → Settings → Advanced → Webhooks. You don’t need to create or manage them yourself.
Thanks to these notifications:
- you see new orders and changes in Teamdock straight away;
- you get a notification for a new order, if you switched that on;
- your automations start on a new or paid order.
Teamdock puts the webhooks right again every time you successfully test a new connection, and also when your workspace restarts.
Orders not coming in (straight away)?
Section titled “Orders not coming in (straight away)?”-
Go to Settings → Integrations. At the top is the Connections block. Look at Shop notifications: does it say working or not working, and when it Last worked?
-
Does it say not working, explaining that the shop signs its notifications with another secret? Click Set up notifications again. Teamdock puts its secret back into the webhooks and switches disabled webhooks back on.
-
Still not working? Go to Settings → Account → Store and click Test connection. If you get an error message, see Connection problems.
-
In WooCommerce, check under WooCommerce → Settings → Advanced → Webhooks that the Teamdock webhooks have the status Active. WooCommerce switches a webhook off by itself after a series of failed deliveries.
Set up notifications again is available to administrators and to roles that may manage integrations. See Members and roles.
Who can do this?
Section titled “Who can do this?”Settings → Account is available to administrators and to roles that may manage settings. Settings → Integrations to administrators and roles that may manage integrations.